Replaceable Graphics for Retail Displays: A Design and Purchasing Checklist
Plan campaign graphic changes before rollout. Review retention, access, artwork templates, substrate compatibility and the complete replacement process.
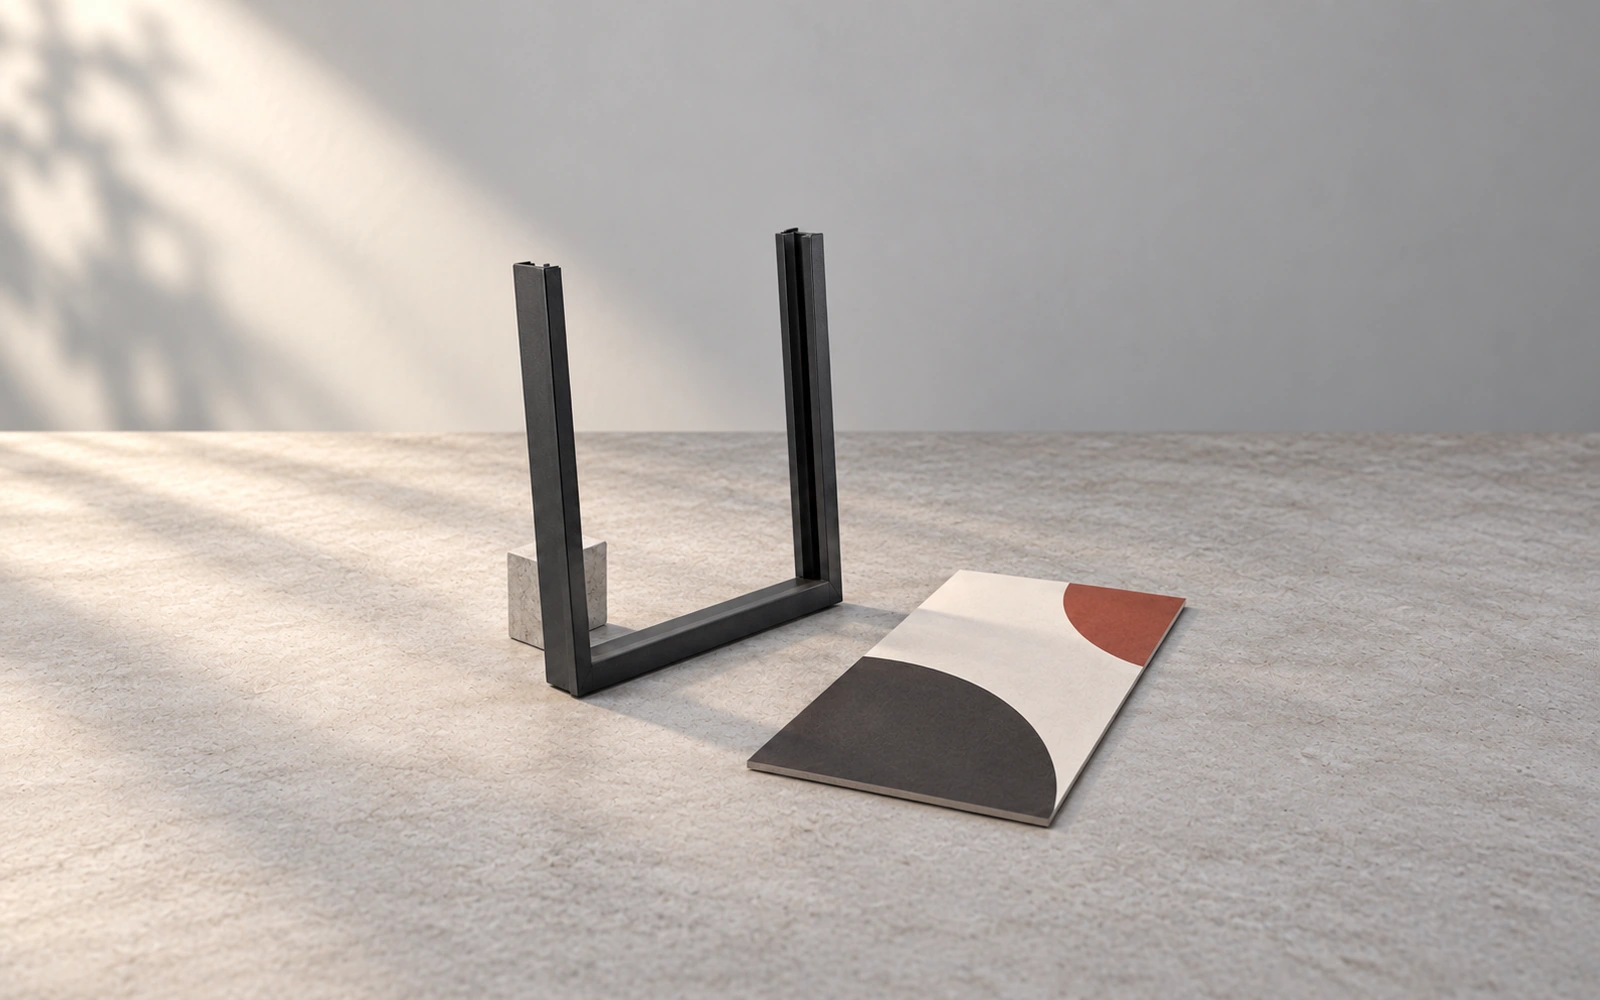
A campaign graphic can change long before the fixture supporting it needs replacement. If that change has not been designed into the display, store staff may have to move merchandise, dismantle a panel or remove an adhesive from a finish that was never checked for compatibility.
Define which parts stay, which parts change and how staff access them. Then specify the graphic medium, retention method, artwork template and replacement procedure together. “Replaceable” describes a working process, not just a detachable panel.
This checklist is for designers, visual-merchandising teams and purchasing managers planning indoor retail displays. The examples illustrate available approaches; they are not endorsements or evidence that BEVIS manufactures the cited systems.
1. Map the campaign changes before choosing hardware
List the information likely to change: product launches, prices, language versions, seasonal artwork or promotional messages. Separate these from permanent brand elements and structural components.
For each graphic position, record:
- Who will replace it: store staff, installers or a service contractor?
- How frequently is it expected to change?
- Must the fixture remain stocked during the change?
- Is the opening accessible in its installed location?
- Which components must be retained, stored or replaced?
A counter sign and a large back panel may require different methods even when they share the same artwork. Start with the store task rather than forcing every graphic into one attachment system.
2. Compare the changeover process of each approach
Slide-in holders provide one route for retaining a frame while replacing its insert. VKF Renzel describes frames with insertion from a long or short side, illustrating why the access direction belongs in the fixture drawing. VKF Renzel: Slide-in frames.
Other options include opening frames, mechanically retained panels, compatible magnetic systems and adhesive films. Treat these as candidates with different installation and maintenance requirements. Do not assume magnets work with every panel or that every frame accepts the same insert construction.
| Approach | What procurement and design should confirm |
|---|---|
| Slide-in holder | Insert thickness, insertion direction, accessible opening and panel retention |
| Opening frame | Opening clearance, closure method and access in the installed position |
| Mechanical fixing | Tools, fasteners, visible fixings and repeat-assembly procedure |
| Magnetic system | Compatible backing, graphic medium, retention and cleaning instructions |
| Adhesive graphic | Approved substrate and finish, application conditions and removal instructions |
Choose the method against the actual display, operating conditions and campaign sequence. A tabletop sample is useful, but installation next to a wall or below a shelf can change whether staff can use it.
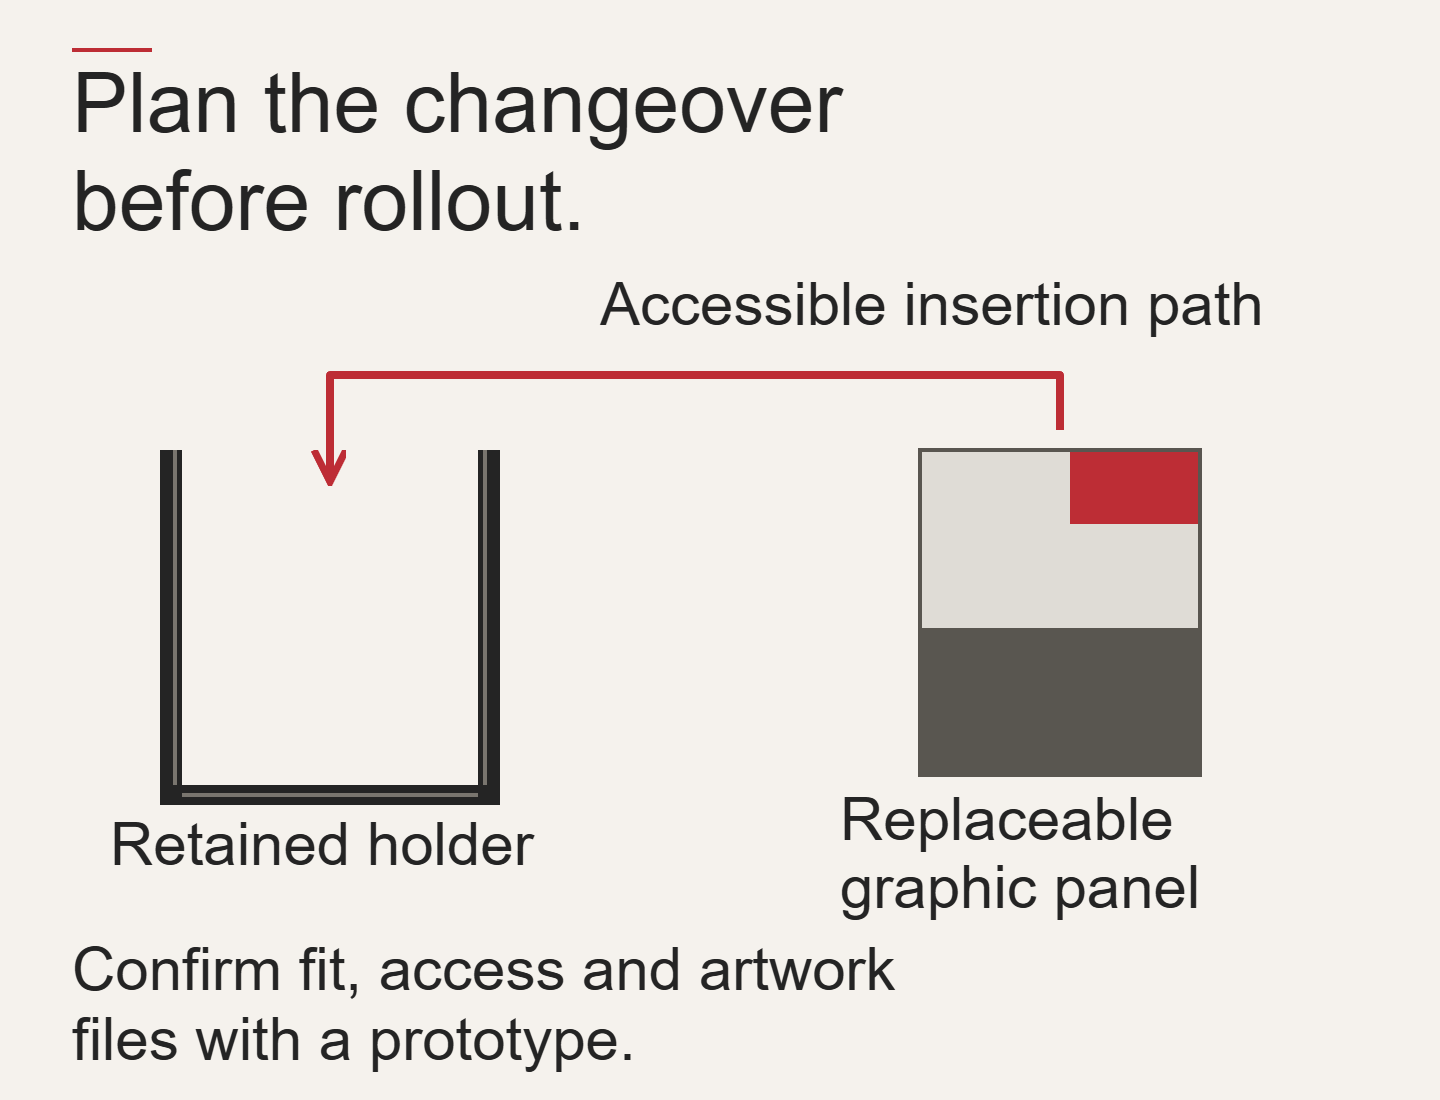
The simplified diagram separates the retained holder, replaceable graphic panel and accessible insertion path. Confirm fit, access and artwork files with a prototype.
3. Check adhesive removal before approving adhesive graphics
An adhesive graphic should be specified as a complete construction: film, print, protective finish, adhesive and the surface receiving it.
3M's removal guidance explains that graphic construction, substrate condition, environmental exposure and removal conditions affect the process. It also warns that a weak substrate or coating can be damaged during removal. This makes “removable” an incomplete description without the product instructions and substrate review. 3M: Removal Instruction Bulletin.
Ask the supplier to confirm compatibility with the actual finished surface. Have a representative sample evaluated under the agreed application and removal conditions before rollout. Keep the manufacturer's instructions with the store procedure; do not promise residue-free or damage-free removal without applicable evidence.
4. Give the print supplier an artwork template
An insert's outside dimensions and visible area may differ because a holder conceals its edges. Issue a template identifying the finished size, visible opening, orientation and any hidden or restricted areas.
Ask the print supplier to confirm bleed, safe areas, file format, colour workflow and the medium being supplied. Agree a proofing process before ordering multiple language or store versions. These values should come from the selected graphic system and printer; they are not universal numbers to copy into every brief.
Identify the graphic position and revision on the order, packing label or reverse where appropriate. A correct print delivered to the wrong display position still creates a store problem.
5. Rehearse a complete replacement on the prototype
Use the intended graphic medium and representative fixture. Ask the person expected to do the task to follow the draft instructions, including unpacking and removal of the previous graphic.
Observe whether the opening is reachable, the panel fits, corners are protected and the graphic stays correctly retained after fitting. Check that neighbouring shelves, products and walls do not obstruct the task. Record required tools, handling needs and any revisions to the instructions.
If speed is part of the buying decision, measure the agreed task under representative conditions. Include the work needed to remove the old graphic and deal with packaging. Do not assign a changeover-time claim from a concept image or a supplier slogan.
6. Compare campaign cost, not only the first fixture price
Request separate prices for retained hardware, replacement graphics, packing, delivery and any installation support. Estimate the campaign sequence with those items visible. Record assumptions about the number of changes and who performs them.
Replacing a graphic can leave the main fixture in use, but that alone does not establish an environmental saving. Any such claim needs information about the materials, print process, transport, actual reuse and disposal route.
What belongs in the purchasing brief?
Keep the graphic-position schedule, retained parts, replacement medium, approved artwork template, access direction, assembly instructions and spare-part identification together. Specify how a future graphic supplier can obtain the correct files and physical requirements.
If the holder uses a wood-based panel, our MDF and plywood specification guide explains which panel and finish details to settle alongside the graphics.
Planning a display that changes with your campaigns? Bring the graphic positions, campaign schedule and installed-space constraints when you discuss your display project with BEVIS.